Blog
- Tutorials & How-To
Ohio Star Masterclass
22/05/2026
Welcome to our very first block masterclass from the Cornish Craft Barn! For those of you who join us at any of our Wheal Stitch & Sit days here ,…By Rachel SemoninRead more →  Tutorials & How-To
Sewing with Batik – Hints and Tips
23/04/2026
We have found an informative website which has some handy tips for sewing with Batiks. If you click on the link in blue it will direct you to their post.…By Michelle DicksonRead more → Tutorials & How-To
Simple Bunting Tutorial
20/03/2026
There is a super easy way to make bunting using squares of fabric rather than cutting lots of triangles. Decide what size square you wish to use. Cut your fabric…By Michelle DicksonRead more → Tutorials & How-To
Simple Self Cover Buttons Tutorial
20/02/2026
These buttons are easy to make to coordinate with your projects. You can fussy cut the fabric to show a specific image. To make the buttons more secure and to…By Michelle DicksonRead more →- Tutorials & How-To
Rope Bowls
10/10/2025
You can watch Sally’s video HERE of how to make these handy rope bowls made using sash cord. They are quick and easy to make as gifts and can be…By Michelle DicksonRead more →  Workshops & Events
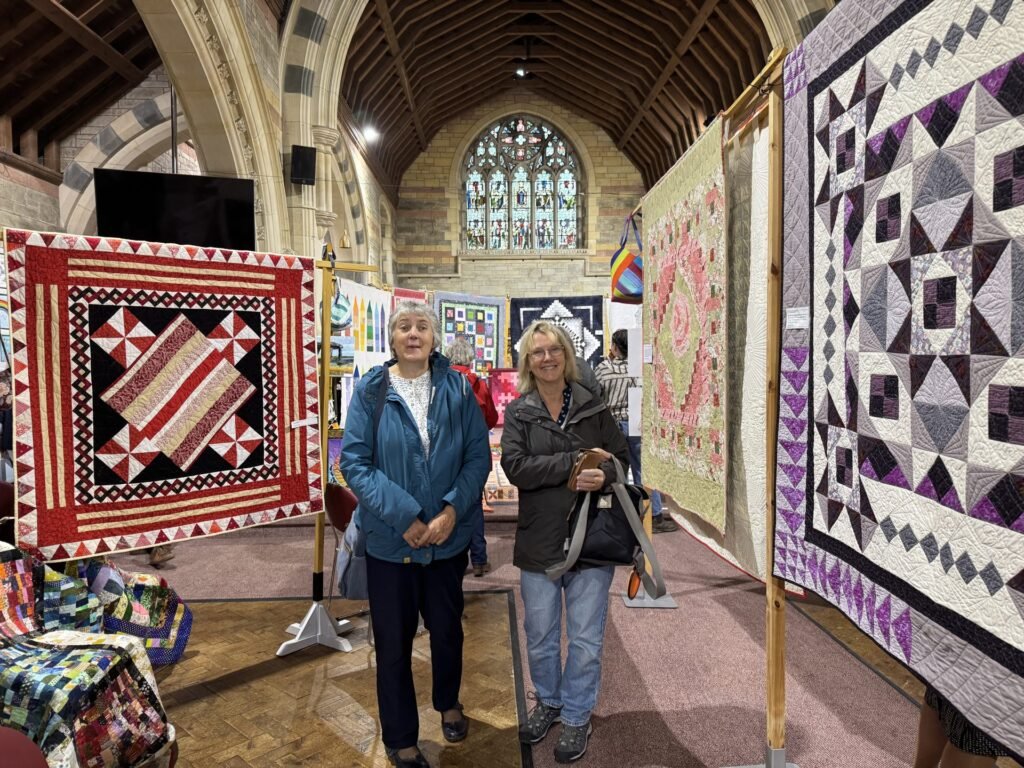
Karenza Quilters Exhibition 2025
19/09/2025
What a delicious selection of quilts were on display at this exhibition. Such a variety of styles and techniques. All beautiful and inspiring. Several of the Coast and Country team…By Sally SnapesRead more → Workshops & Events
Foraging Walk, Talk & Tasters at Trebah Gardens, Mawnan Smith, Cornwall
15/09/2025
If you live in Cornwall, why not join expert forager Emma Gunn (Sally’s sister) for an inspiring and entertaining talk about her life of foraging; from early experiences with wild…By Sally SnapesRead more → Workshops & Events
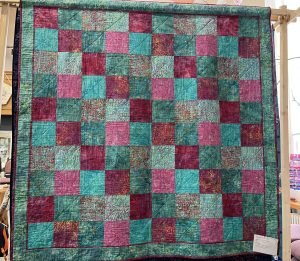
Kernow Quilters Exhibition 2025
29/08/2025
What a beautiful array of quilts and other items are on display at this years exhibition by local group, Kernow Quilters. We popped along and spent a lovely few hours…By Sally SnapesRead more → Workshops & Events
Threads of Creation by Jacqui Parkinson
16/08/2025
We spent a long time on Thursday visiting the amazing Threads Through Creation Exhibition at Truro Cathedral. We were astonished by the huge scale, detail and intricacy of the works…By Michelle DicksonRead more → Tutorials & How-To
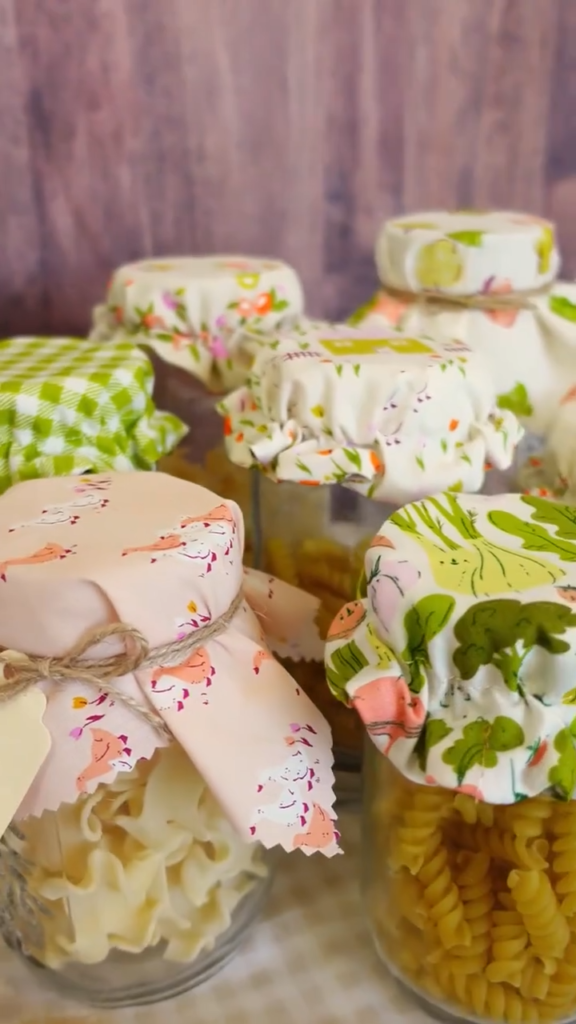
Jar and Bowl Covers
15/08/2025
We have fallen in love with fabric bowl and jam jar covers. They are so simple but so effective and make an ordinary looking item beautiful. While the weather is…By Sally SnapesRead more →