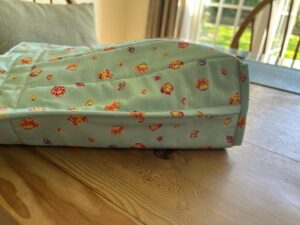
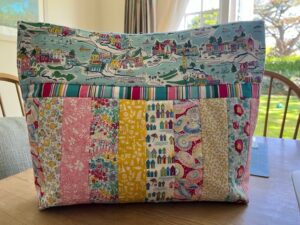
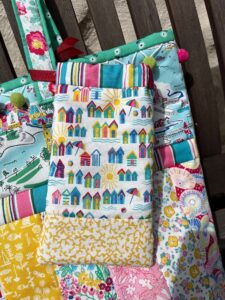
Liberty Riviera Bag was made using the Sophie Quilt as you go pre-printing batting
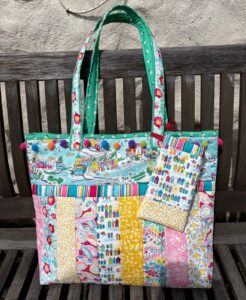
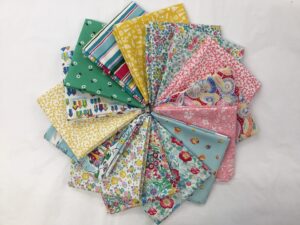
I fell in love with the Liberty Riviera fabric range which couldn’t be more summery with its vibrant Neapolitan colours and decided to make a summer bag using the Riviera fabric and the Sophie tote quilt-as-you-go preprinted batting bag kit.
Start by using spray glue 505 to attach your lining fabric onto the wadding allowing it to dry while you cut your other fabrics.
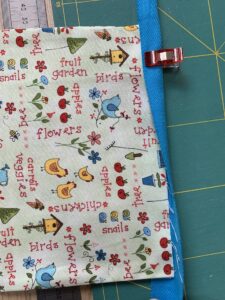
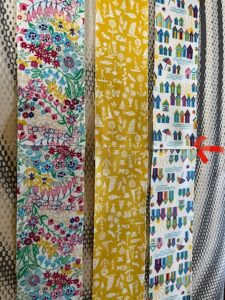
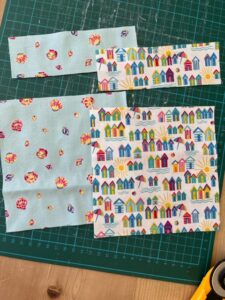
If you are using directional fabrics you will need to check where you’re going to use it on the bag to make sure you have a large enough piece & that the direction will be correct.
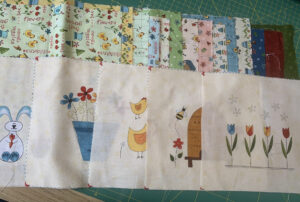
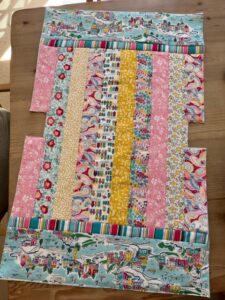
When choosing fabrics for the strips, I wanted to include directional prints so I cut them slightly longer, them cut the strips in half and then stitch the bottoms together, as the centre of your strip will become the bottom of the bag and other ends of the strips will become the front and back of the back of the bag so need to be facing the right direction – see photo below.
Starch your strips as recommended on the Sophie bag instructions as it does make construction easier.
Once you have added all the strips to the bag front and you reach the construction stage, fold the tote in half with the outer fabrics right sides together and sew down the two sides as instructed.
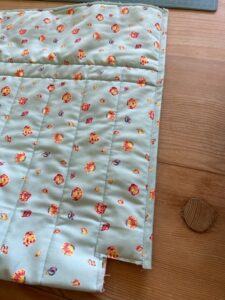
 I don’t like to see raw edges inside my bag so I cut strips from the spare lining fabric 1 1/2 inches wide to bind the sides before stitching across the bottom pictured in figure 2 on the tote instructions. Once you’ve stitched across the bottom, you can then bind them pieces as well.
Turn the back right side out and check all your seems.
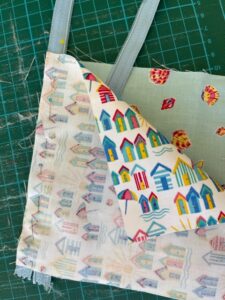
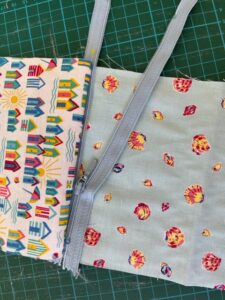
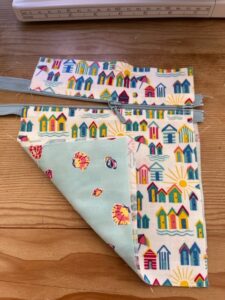
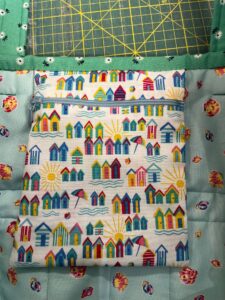
If you want to add any internal pockets now is the time to do it, before you add the handles and put the binding on. I wanted an internal pocket with a zip to keep keys and money in so for the front of my internal pocket I cut an outside piece and lining piece 6 inches wide by 8 inches long. I then cut 2 inches off the top of both of them. Using a zipper foot, I then stitched the 6” x 6” piece of outside fabric & lining fabric to either side of the lower part of the zip. (You will have to keep the needle in, lift the machine foot, & move the zip along out of the way when you stitch across). Press it back right sides out & top stitch. Repeat on the top part of the zip with the 6” x 2” pieces of lining & outside fabric.
Trim if necessary making sure your zip head is in the centre. Measure this & cut another lining & outside fabric piece the same size. Play these pieces wrong sides together then lay both pieces on top of your zippered piece with outside fabrics right sides together. Stitch down both sides and the bottom leaving the top open. Trim excess zip off & zig zag stitch the side & bottom edges, then turn right side out.
Attach the inner pocket to the top edge of the inside of your bag with an 1/8th” seam. I made myself a key fob from a strip of fabric which I also attached to the top inside bag with 1/8th seam.
To jazz up my bag for summer I stitched some bright coloured Pom Pom trim around the top outer edge. Now you can go back to follow the Sophie bag instructions for binding the top of the bag & adding the handles, but I cut my binding 2 3/4” wide as I’d added the trims etc.
Label it: why not use the selvage edge to make a label? I used “The Riviera Collection” to label my sunglasses case. 


With the leftover fabrics & scraps of wadding from around the edge of the bag you can make accessories. A sunglasses case, or an ipad bag, make up bag, etc. Below are instructions to make a sunglasses case to match.
Sunglasses case :
Outer fabrics – two each of:
Top strip 2 1/2” x 5”
Middle strip 5 1/2” tall x 5” wide
Bottom strip 2 1/2” x 5” wide
Wadding 7 1/4” x 5” wide
Stitch together top, middle & bottom strips & put the wadding in behind the middle & bottom strips, then quilt through to hold the layers together & around the edge 1/8th” in.
Lining – two each of:
9 1/2” x 5” wide
Stitch one lining piece to each of the outside pieces along the top strips (5” edge)
Lay both front & back pieces right sides together with lining on lining & quilted front on top of quilted back. Pin to match seams then sew all the way around the edge with a 1/4” seam allowance, but leave a 2” gap in the centre bottom of lining for turning.
Turn right sides out & stitch the gap closed then push the lining inside. The top piece will be folded in half & pushed inside, so you can insert a magnetic clasp or press stud, or drawstring. You can then stitch around the top seam again to hold the top piece inside.
Go out & be the envy of your friends wearing your beautiful summer bag!